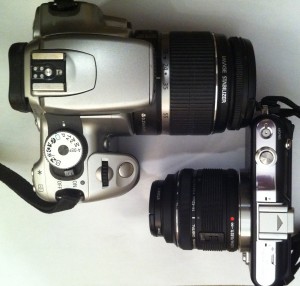
For an upcoming camping trip I bought an Olympus E-PM1 camera. The camera is a lot smaller and lighter than my Canon Rebel XTI, plus I’d have less cash weighing down my pocket… a win win! Actually, I got a refurbished model, so it was quite a good deal (about one quarter the price of the high-end version, which has all of the same internals).
As you can see from this top view, the size will be a lot more convenient for a backpacking trip than the Canon.
With lens fully zoomed it grows a lot! It’s not that much zoom though.
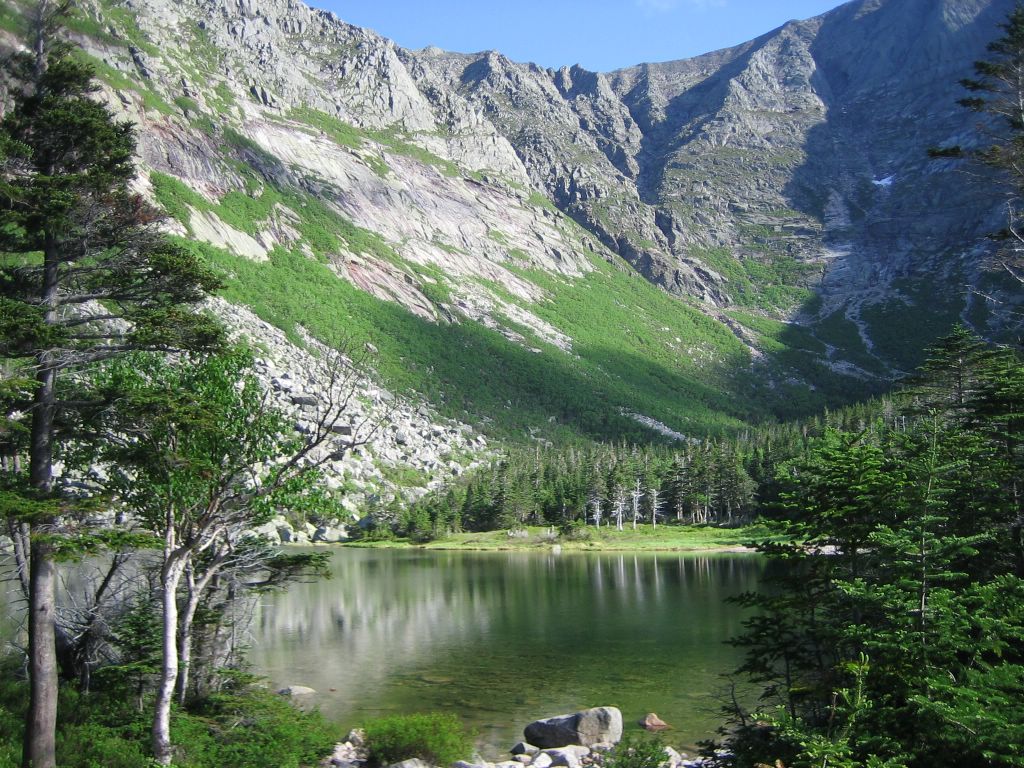
I’m curious to see how the camera will compare to the point-and-shoots the rest of my family will bring on the trip. Â I’ve been very happy with my Canon’s ability to take low-light photos (anything indoor at night ends up needing a flash or looking grainy on most P&S cameras). This camera has an image sensor size smaller than the Canon’s, but it is still quite a bit larger than a typical P&S, so it should make nice crisp pictures. Of course for nature photography, what you are aiming at has more impact than the quality of your camera body. Here’s proof from our trip to Katahdin back in 2005:
The camera is somewhat notorious for being poorly configured out of the box. Here are the steps I took to improve on the defaults:
- Enable the full settings menu. You’ll need this to access most useful controls.
- Setup->Wrench->Menu Display->Turn on the cog shaped one
- Switch to the “Super Control Panel (SCP)”. This will change the menu you see when you hit “OK” in shooting mode so that it is more comprehensive and easier to access.
- Go to the new settings menu (the cogs)->D/Display->Control Settings->P/A/S/M->Make it so everything is turned off except for SCP
- Make the arrows cycle through pictures instead of the dial (which is really stupid)
- Setup->Cogs->B/Button/Dial->Dial Function->(play button)->set this to the “enlarge a picture” option
- Make the movie record button do something useful (i.e., not record videos). I have it toggle between using auto-focus on the whole image or just the center point
- Setup->Cogs->B/Button/Button Functions->(record button)->[…]HP
- Setup->Cogs->A/AF/MF->[…] Set Home (you have to scroll down)->Set it to the one with a single square in the middle
- Originally I skipped the second step, in which case the button won’t do anything useful
I usually use the “P” mode, which has the camera guess the right aperture and shutter speed. It is still fairly easy to customize these–hit the UP button, then use L/R to change shutter speed (brightness) and UP/Down to change F value (depth of focus). Remember if you have trouble with it picking the wrong thing to focus on that you can hit the red record button to swap between full-auto focus and center-target focus (assuming you followed the steps above).
I haven’t taken any real pictures yet, so I’ll leave you with this decidedly unflattering self-portrait.


 I recently got a shiny new Macbook from my advisor. While I’ve briefly used a Mac a few times in the past, this is the first time that I’ve ever really worked on one. I can appreciate that it is a very attractive laptop, but I’m less convinced that this machine is supposed to provide the ultimate user friendly experience, particularly for users who like flexibility in how they work on their system. I make an effort not to complain about things here since that is what 90% of blogs are, but unfortunately I need to relax that rule for this post…